

Introduction
In today’s digital world, screen recording has become an essential skill for students, professionals, gamers, and content creators. Whether you want to create tutorials, record online classes, capture gameplay, or make presentations, using free screen recording tools for beginners can help you achieve your goals without spending money.
The good news is that you don’t need advanced technical skills or expensive software to get started. Many free tools are designed specifically for beginners, offering simple interfaces and easy-to-use features. These tools allow you to record your screen, capture audio, and even edit your videos with minimal effort.
Moreover, screen recording is not just about capturing what’s on your screen. It’s about communicating ideas clearly, sharing knowledge, and creating engaging content. With the right approach and tools, anyone can produce professional-looking recordings.
What is Free Screen Recording Tools for Beginners?
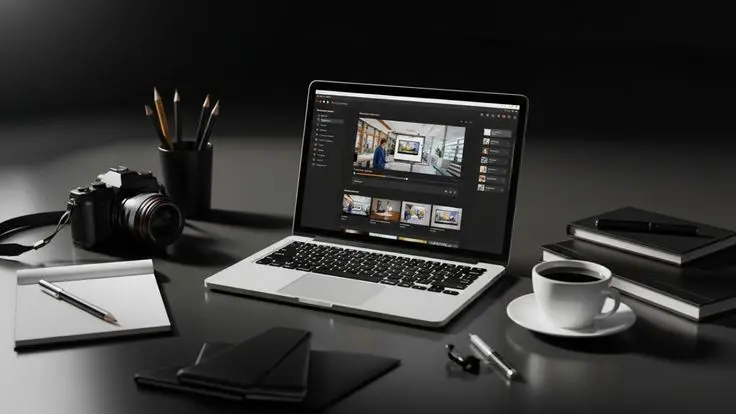
Free screen recording tools for beginners are software applications that allow users to capture everything happening on their computer or mobile screen. These tools are designed with simplicity in mind, making them perfect for people who have little to no experience with video recording or editing.
Typically, these tools let you record:
- Full screen or specific areas
- System audio and microphone sound
- Webcam footage
- Mouse movements and clicks
Some tools also include basic editing features such as trimming, adding text, or highlighting important parts of the video.
For example, a student can use a screen recorder to capture an online lecture. Similarly, a content creator can record a tutorial showing how to use a specific software. The main goal is to make screen recording accessible and easy for everyone.
Why is Free Screen Recording Tools for Beginners Important?
Understanding the importance of free screen recording tools for beginners can help you see why they are widely used today.
First, these tools make content creation accessible. Not everyone can afford paid software, so free tools provide an opportunity for anyone to start creating videos.
Second, they are extremely useful for learning and teaching. Teachers can record lessons, and students can revisit them anytime. This improves understanding and retention.
Third, businesses use screen recordings for training and presentations. Instead of explaining processes repeatedly, they can create a recording once and share it with others.
Additionally, these tools help improve communication. Visual explanations are often clearer than written instructions, making it easier to share ideas.
Detailed Step-by-Step Guide
Step 1: Choose the Right Tool
Start by selecting one of the many free screen recording tools for beginners available online. Look for tools that offer:
- Simple interface
- No watermark (if possible)
- Audio recording options
- Basic editing features
Popular beginner-friendly tools include browser-based and downloadable software.
Step 2: Install or Access the Tool
If the tool requires installation, download it from the official website and follow the setup instructions. For online tools, simply open them in your browser.
Make sure your system meets the basic requirements to avoid performance issues.
Step 3: Adjust Settings
Before recording, configure your settings:
- Select full screen or a specific window
- Enable microphone and system audio
- Choose video quality (720p or 1080p is ideal for beginners)
Testing these settings ensures a smooth recording experience.
Step 4: Prepare Your Content
Plan what you want to record. Create a simple outline or script to stay focused.
For example:
- Introduction
- Main content
- Summary
Preparation helps avoid mistakes and reduces editing time later.
Step 5: Start Recording
Click the record button and begin your session. Speak clearly and move your cursor smoothly.
Avoid unnecessary pauses or distractions. If you make a mistake, don’t worry—you can edit it later.
Step 6: Stop and Review
Once finished, stop the recording and review your video.
Check for:
- Audio clarity
- Visual quality
- Mistakes or unnecessary parts
This step helps you identify areas for improvement.
Step 7: Edit the Video
Use built-in editing tools to:
- Trim unwanted sections
- Add text or annotations
- Highlight key points
Keep your edits simple and clean.
Step 8: Save and Export
Finally, save your video in a common format like MP4.
Choose a suitable resolution and file size depending on where you plan to share the video.
Benefits of Free Screen Recording Tools for Beginners
- Easy to use with minimal learning curve
- No cost, making them accessible to everyone
- Helpful for creating tutorials and educational content
- Improves communication through visual explanation
- Supports remote learning and online work
- Allows beginners to practice and improve skills
- Saves time by recording processes once
Disadvantages / Risks
- Limited advanced features compared to paid tools
- Some tools add watermarks to videos
- Lower video quality in certain free versions
- Possible performance issues on low-end devices
- Limited editing capabilities
- Privacy concerns if using online tools
Common Mistakes to Avoid
One common mistake is not testing audio before recording. Poor sound quality can ruin an otherwise good video.
Another mistake is recording without a plan. This often leads to long, unorganized videos that are difficult to follow.
Beginners also tend to overuse effects and annotations. Keeping things simple usually works better.
Ignoring lighting and background (for webcam recordings) is another issue. A clean setup improves video quality.
FAQs
1. Are free screen recording tools good for beginners?
Yes, free screen recording tools for beginners are specifically designed to be simple and easy to use. They provide all the basic features needed to start recording without complexity.
2. Can I record audio with these tools?
Most free tools allow you to record both system audio and microphone input. This makes it easy to create tutorials or presentations with voice explanations.
3. Do free tools add watermarks?
Some free tools include watermarks, but many offer watermark-free recordings. It’s important to choose the right tool based on your needs.
4. What is the best format to save recordings?
MP4 is the most commonly used format because it offers good quality and compatibility across different devices and platforms.
5. Can I edit videos using free screen recorders?
Yes, many free screen recording tools for beginners include basic editing features like trimming and adding text. However, advanced editing may require separate software.
6. Is screen recording safe?
Screen recording is generally safe, but you should avoid recording sensitive information. Always use trusted tools to protect your data.
Expert Tips & Bonus Points
To get the best results from free screen recording tools for beginners, follow these expert tips:
Start with short recordings. This helps you practice and improve without feeling overwhelmed.
Use a good microphone. Clear audio can make a huge difference in the quality of your video.
Keep your desktop clean. Remove unnecessary icons and close unrelated applications before recording.
Practice speaking clearly and at a steady pace. This improves viewer engagement.
Use keyboard shortcuts if your tool supports them. This makes recording smoother and more efficient.
Additionally, try recording in a quiet environment to avoid background noise. Small improvements like these can significantly enhance your final output.
Conclusion
Free screen recording tools for beginners have made it easier than ever to create high-quality video content without spending money. Whether you’re a student, teacher, freelancer, or content creator, these tools offer a simple and effective way to share your ideas and knowledge.
Throughout this guide, we explored what these tools are, why they are important, and how to use them step by step. We also discussed their benefits, limitations, and common mistakes to avoid. By understanding these aspects, you can make better decisions and improve your recording skills over time.
The key to success is practice. Start with basic recordings, learn from your mistakes, and gradually refine your technique. With consistency and effort, you can create professional-looking videos even with free tools.